Key Takeaways
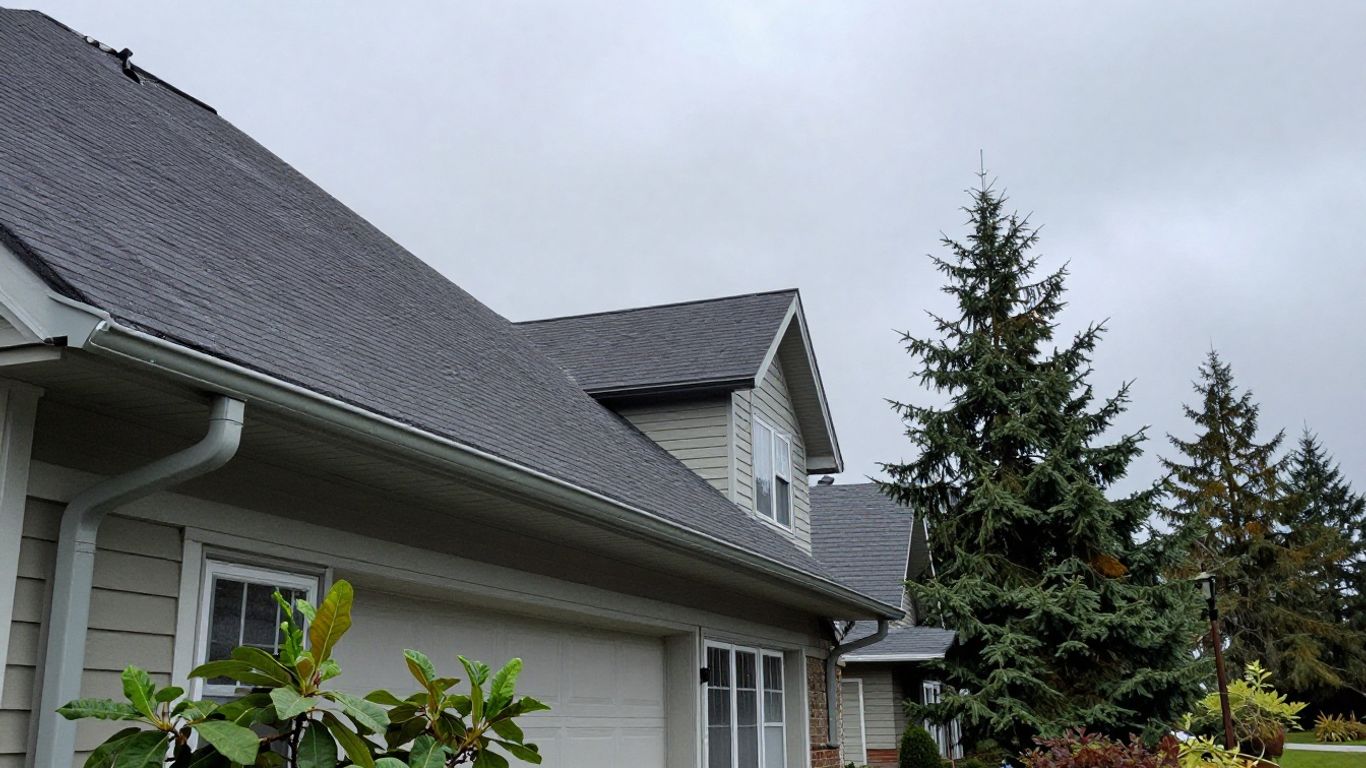
Portland gutter installation is less about adding a visible trim detail and more about directing roof runoff safely away from the home.
- Portland’s long wet season makes sound gutters and clear downspouts especially valuable.
- Material, profile, roof size, and home height all affect the right system and its cost.
- Downspout placement and discharge points matter as much as the gutters themselves.
- Seamless installation can reduce mid-run joints, but every system still needs inspection and care.
- Compare itemized estimates, insurance, warranties, and the contractor’s approach before hiring.
Understanding Portland gutter installation needs
Portland’s damp climate puts a gutter system to work for much of the year. A roof may shed a modest amount of water during a light shower, then send a concentrated stream toward one corner during a stronger storm. A good design handles both without spilling over the fascia or saturating the soil beside the foundation.
The right answer depends on the roof, siding, landscape, and condition of the supporting woodwork. Before choosing a color or profile, inspect how water currently moves around the house. That simple step often reveals whether the project calls for cleaning, repair, better drainage, or complete replacement.
How Portland’s rainy climate affects gutter performance
Portland’s frequent rain exposes small weaknesses repeatedly. A loose hanger can become a sagging section, while a partially blocked downspout can send water behind the gutter and onto the fascia. Moss, leaves, and needles add more debris to homes near mature trees.
Rainfall is only part of the issue. The system must also shed water during wind-driven storms, when debris can collect at outlets and corners. A correctly pitched gutter, firmly attached to sound fascia, gives runoff a clear path instead of allowing it to sit in the channel.
Signs your home needs new gutters
Some warning signs are easy to see from the ground. Persistent overflow, separated joints, rust holes, and gutters pulling away from the roofline all deserve attention. Staining below the gutters or damp soil beside the foundation can indicate that water is leaving the system in the wrong place.
Look for repeated problems rather than one isolated drip. A single loose end cap may be repairable, but widespread sagging or multiple leaking seams usually points to an aging system. The Portland gutter replacement guide offers a useful way to organize these symptoms before requesting an estimate.
When repair is enough and when replacement makes sense
Repair is often sensible when the channels are straight, the material is generally sound, and the trouble is limited to a hanger, seam, end cap, or downspout connection. Cleaning and resealing may also solve a localized leak, provided the surrounding metal has not deteriorated.
Replacement becomes more practical when damage is widespread or the existing layout repeatedly overflows. Rotten fascia, badly distorted sections, and undersized downspouts can make patching a short-lived fix. Ask the contractor to separate repairable items from replacement items so the recommendation is clear.
How gutters protect siding, fascia, and foundations
Gutters collect water at the roof edge and send it through downspouts to a controlled discharge point. Without that path, runoff can wash over siding, stain exterior walls, and soak the fascia behind the gutter. Over time, repeated moisture can contribute to wood deterioration.
The ground around the home matters too. Water released beside the foundation can erode soil or collect against the wall. Proper extensions or underground drainage give the water more distance and help preserve planting beds, walkways, and basement areas.
Choosing the right gutter materials and profiles
Material selection affects appearance, weight, maintenance, and the project’s price. There is no universal winner: a homeowner may value low weight and easy color matching, while another may prefer the character of copper or the strength of steel. Profile and size deserve the same care as the material itself.
Ask for samples when possible, especially if the gutters will be visible from the street. The new system should work with the roof edge and trim rather than look like an afterthought.
Aluminum, steel, copper, and vinyl compared
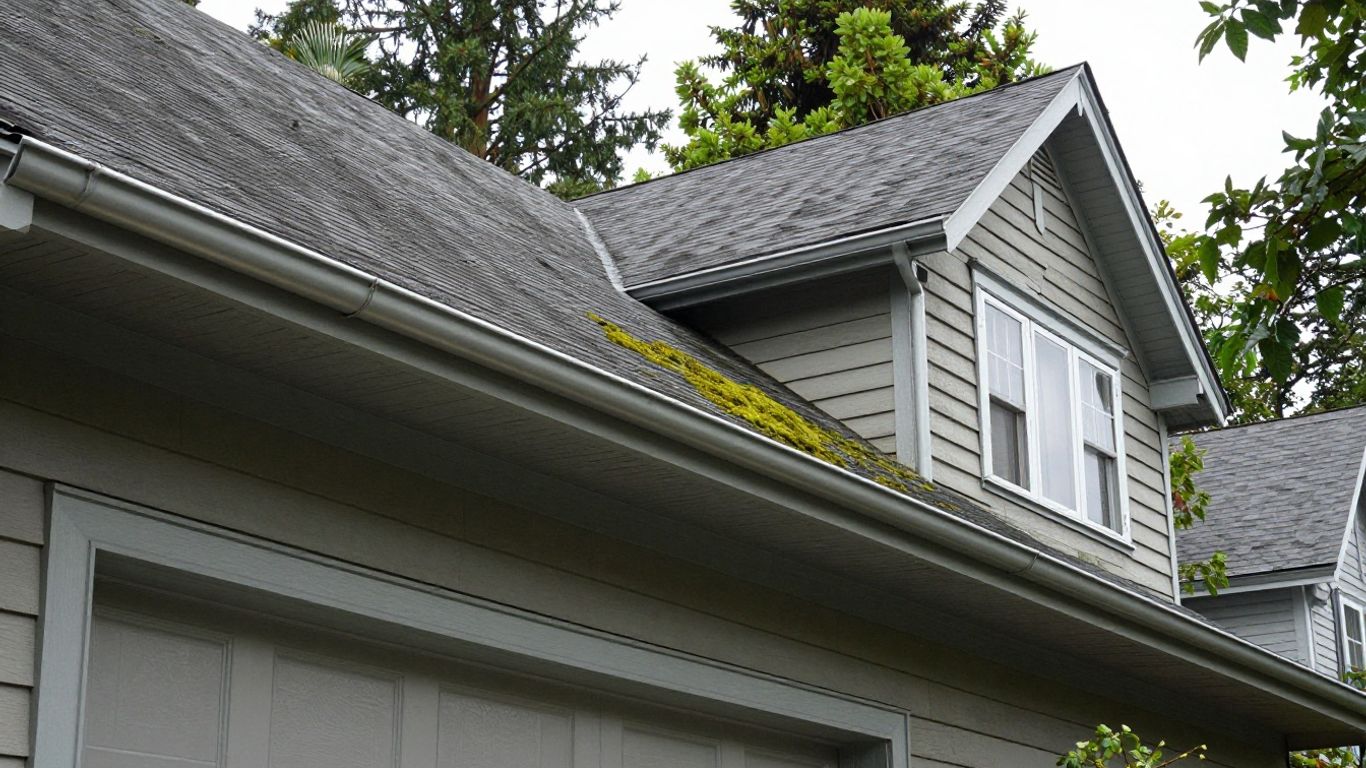
Aluminum is popular because it is lightweight, broadly available, and easy to coordinate with many exterior colors. Steel offers additional rigidity but can be heavier and needs attention to corrosion. Copper has a distinctive appearance and premium cost, while vinyl is lightweight and resists rust but may be less suitable for demanding installations or impact-prone locations.
Compare the material with the home’s exposure and the installer’s method. A durable product can still perform poorly if it is supported inadequately or joined carelessly. For a practical starting point, review how OnScene Gutters describes seamless gutter and downspout installation for Portland properties.
Seamless gutters versus sectional gutters
Seamless gutters are roll-formed in continuous runs, usually at the property, so they have no mid-run joints. Fewer joints can mean fewer places for leaks to develop, although corners, outlets, and end caps still require careful work. Sectional gutters arrive in fixed lengths and can be useful for smaller projects or limited repairs.
The best choice also depends on access and layout. A long, simple roofline may suit a continuous run, while a small repair may not justify replacing an entire side. Have the estimate identify where seams will remain and how those connections will be sealed.
K-style and half-round gutter profiles
K-style gutters have a decorative ogee-shaped front and are common on residential homes. Their relatively flat back can sit neatly against fascia when the roof edge is prepared correctly. Half-round gutters have a rounded interior and a more traditional appearance, often pairing well with older or classically styled homes.
Neither profile automatically solves drainage problems. The installer still needs to match the hangers, outlets, downspouts, and roof edge to the selected shape. Look at the profile from the street and from beneath the eaves before making a final choice.
Selecting the right gutter size for your roof
Gutter size should reflect the roof area, pitch, and the amount of water reaching each run. A steep roof can shed water quickly, and valleys concentrate runoff into a relatively short section. Those conditions may call for a larger channel, extra outlets, or both.
Avoid choosing by visual preference alone. A contractor should calculate the roof sections feeding each gutter and explain why a particular channel and downspout combination is appropriate. Oversizing every run may add cost without improving areas that receive little runoff.
Planning your gutter system and drainage
A gutter is only one part of a water-management system. Water must move from the roof into the channel, through the downspout, and far enough away from the foundation to disperse safely. Planning this route before installation prevents an attractive system from creating a new drainage problem.
Walk the property during or soon after rain if conditions are safe. Note where water currently pours, where soil erodes, and where a downspout would conflict with a walkway or driveway. These observations make the design more specific.
Calculating roof area and water volume
Start by dividing the roof into sections that drain toward individual gutter runs. Measure their approximate length and horizontal width, then account for valleys and steep slopes that concentrate runoff. A professional will use these details with local rainfall conditions to select channel and outlet capacity.
The calculation need not be perfect for a homeowner’s first conversation. Photos, roof plans, and a simple sketch can show where the major flows occur. The final design should explain how those high-volume areas are handled rather than treating the whole roof as one uniform surface.
Determining the number and placement of downspouts
Downspouts should be positioned where they can accept water efficiently and discharge it without creating a hazard. Long runs, roof valleys, and corners often deserve special attention. A contractor may also place outlets near the end of a run to limit the distance water must travel inside the channel.
Placement should account for the finished ground level. Before work begins, identify the locations of doors, steps, windows, utility equipment, and paved paths. A short plan can prevent a downspout from emptying directly onto a busy walkway.
Choosing downspout extensions and underground drainage
An extension is usually the simplest way to move water away from the wall. It may be routed across a lawn, beneath a surface, or toward a suitable drainage area, depending on the property. Underground drainage can create a cleaner appearance, but it needs an appropriate outlet and should not simply terminate where water remains trapped.
Discuss maintenance access before burying a line. Leaves and sediment can eventually restrict any drainage route. A contractor who handles both gutters and downspout extensions can coordinate the outlet with the roof system instead of treating it as an afterthought.
Using rain chains for appearance and water control
Rain chains can add a decorative vertical element where a downspout would be visually intrusive. They work best where the water can fall into a basin, gravel bed, or other prepared surface that will not splash against the wall. In heavy rain, a chain alone may not control flow as well as a conventional enclosed downspout.
Use one only after considering the roof area above it. A small porch roof may be a reasonable location, while a large valley discharge can overwhelm the chain. The landing area should be stable, easy to inspect, and directed away from the foundation.
What to expect during the installation process
A careful installation begins before the first piece of gutter is cut. The crew should review the roofline, existing damage, drainage routes, and the condition of the fascia. Clear communication at this stage helps avoid surprises once old materials are removed.
The work itself may involve ladders, roof edges, and heavy or awkward sections. Homeowners should keep children and pets away from the work area and avoid attempting ladder work without the proper equipment and experience.
Measuring the roofline and reviewing problem areas
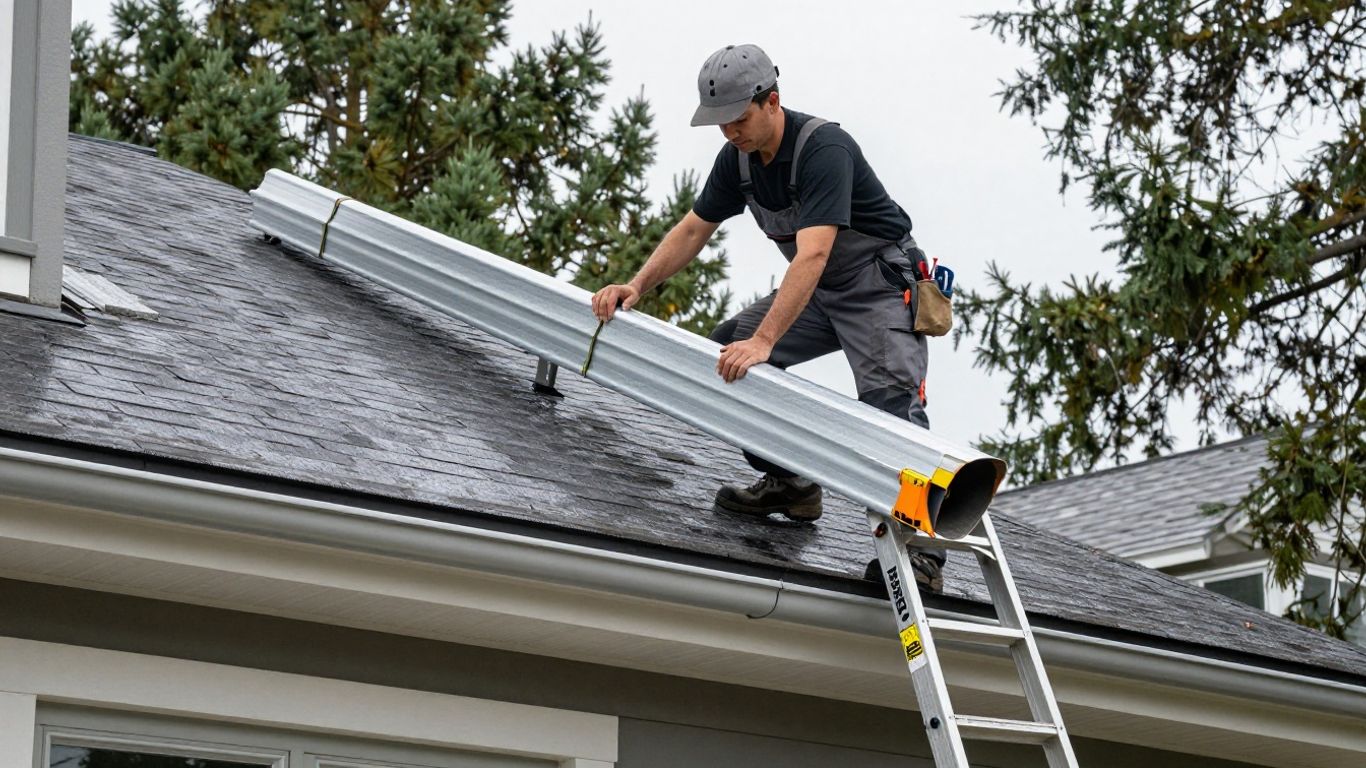
The installer should measure each run, corner, outlet, and downspout location rather than rely on a rough perimeter estimate. Valleys, dormers, low roof sections, and changes in fascia height can alter the design. Existing water stains and soft wood should also be documented.
This review is a good time to ask what happens if hidden damage appears. Replacing fascia or reinforcing an attachment point may be necessary for a secure installation. A written allowance or approval process keeps that work from becoming an unexpected dispute.
Setting the correct gutter slope per foot
Gutters need a slight, consistent slope toward their outlets. Too little pitch allows water and debris to stand; too much pitch is visible and can reduce capacity at the low end. The exact pitch depends on the run and layout, so the installer should explain how the high and low points will be set.
A long run may need an outlet at each end or a central outlet to maintain sensible fall. The finished line should look straight from the ground while still moving water effectively. Checking the slope before the crew leaves is easier than diagnosing standing water later.
Installing hangers, fascia support, and drip edges
Hangers transfer the weight of the gutter and water to the fascia or supporting structure. They should be spaced and fastened according to the material and site conditions, with extra attention at corners and outlets. If the fascia is soft, the underlying problem should be addressed before new gutters are attached.
A drip edge or gutter apron helps guide roof runoff into the channel rather than behind it. The correct detail depends on the roof edge and existing flashing. It should be integrated with the roofing rather than bent into a shape that blocks water or creates a new leak path.
Inspecting seams, outlets, and downspout connections
Before the installation is considered complete, inspect corners, end caps, outlets, and every downspout connection. These are the points where water changes direction or leaves the channel. Fasteners should be secure, joints should be clean, and downspouts should sit firmly against the wall without damaging siding.
Run water through the system when practical and watch the discharge point. The On Scene Gutters Portland service page is a useful example of how installation, replacement, repair, and downspout work can be considered together. That broader view is helpful when a new gutter system is correcting an older drainage problem.
Estimating Portland gutter installation costs
A gutter estimate is shaped by the size and difficulty of the project, not just the material on the truck. Linear footage provides a starting point, but corners, outlets, downspouts, removal, fascia work, and drainage changes can materially affect the final figure.
Treat online numbers as planning guidance rather than a promise. The most useful quote is based on measurements at the property and clearly separates included work from possible extras.
How material and linear footage affect pricing
More linear footage generally means more material and labor, but two homes with the same perimeter may not cost the same. One may have simple, accessible runs; the other may have multiple levels, valleys, tight corners, and several downspouts. Material choice also changes the price, with copper typically occupying the premium end and aluminum often serving as a practical common option.
Use an itemized worksheet to compare proposals consistently. The gutter installation cost guide can help organize questions about material, footage, complexity, repair, and replacement before you request local pricing.
| Cost factor | Why it affects the estimate | Questions to ask |
|---|---|---|
| Linear footage | More channel and support hardware are required | How was each run measured? |
| Material | Weight, finish, availability, and fabrication vary | Is the quoted material and thickness specified? |
| Downspouts | More outlets and discharge routes add labor and parts | How many are included, and where will they end? |
| Removal | Old gutters may need to be detached and hauled away | Is disposal included? |
| Fascia or drainage work | Damaged wood or poor discharge points require extra preparation | What work is optional or allowance-based? |
After comparing the rows, look for missing scope rather than simply choosing the lowest total. A lower quote that excludes removal, extensions, or fascia preparation may not be lower once the whole project is complete.
Why home height and roof access change labor costs
Two-story walls, steep roofs, limited side-yard access, and obstacles near the foundation all make installation more demanding. Crews may need additional equipment, more setup time, or different handling methods for long sections. Dense landscaping and narrow passages can also slow removal and cleanup.
Tell the estimator about gates, fences, decks, sheds, and delicate plantings. Accurate access information helps produce a more realistic proposal and gives the crew a safer work plan. Do not accept a vague “standard labor” line when the property has unusual constraints.
Comparing standard gutters with premium options
Premium choices may include copper, decorative profiles, custom colors, larger channels, upgraded hangers, or underground drainage. They can improve appearance or solve a particular site problem, but they are not automatically necessary for every home. Standard aluminum or steel may be entirely suitable when correctly sized and installed.
Ask what problem each upgrade solves. If the answer is only visual, weigh that benefit against the budget. If it addresses concentrated runoff, difficult discharge, or a fragile roof edge, the extra work may have a clearer practical purpose.
What to ask for in a gutter cost estimate
A useful estimate identifies the material, profile, dimensions, number of downspouts, removal work, and discharge plan. It should also state whether fascia repair, drip-edge adjustments, gutter guards, and cleanup are included. These details make proposals comparable.
Before signing, confirm the payment schedule, start conditions, warranty language, and process for concealed damage. A short written description is far more useful than a single total sent by text.
Maintaining gutters after installation
Even a well-installed system needs routine attention. Portland trees can place leaves, needles, and small branches in the channels, while wind can move debris toward outlets. Maintenance is less about making the gutters look clean and more about keeping water moving through the intended route.
A ground-level inspection after major storms is worthwhile. Look for overflow, a shifted extension, or a new wet area near the foundation. Small changes are easier to address before they become structural repairs.
How often Portland homeowners should clean gutters
Twice a year, commonly in spring and fall, is a sensible starting schedule. Homes under heavy tree cover may need additional cleanings, particularly after a period of wind. The right interval is the one that prevents debris from building up before the wettest parts of the season.
Ladder work carries real risk. If the roof is steep, the home is tall, or the ground is uneven, use a qualified service rather than improvising. A cleaning visit should include downspouts and a look at hangers, seams, and the fascia behind the channel.
Whether gutter guards are worth installing
Gutter guards can reduce the amount of debris entering the channel, but no guard eliminates maintenance entirely. Leaves may sit on top, fine material can pass through, and roof valleys can still send concentrated debris toward one area. Guard performance depends on the product, installation, and surrounding trees.
They may be especially useful on tall homes or properties with heavy leaf fall, where frequent ladder access is undesirable. Ask how the guards will be removed for inspection and whether the existing gutters are straight and secure enough to support them.
Inspecting for leaks, sagging, and fascia damage
Inspect seams during rain when possible, or use a hose carefully when conditions are dry and safe. Water behind the gutter, a visible dip, or a downspout that does not carry flow suggests that something needs attention. Check the fascia for dark staining, peeling paint, soft spots, or fasteners that have pulled loose.
Document changes with photographs from the ground. A dated image can help a contractor understand whether a problem is new or recurring. Do not climb onto a roof or lean a ladder against an unstable gutter simply to get a closer look.
Preparing gutters for heavy rain and seasonal storms
Before a major storm, clear obvious debris, check that extensions are connected, and make sure discharge points are not blocked by soil or mulch. Confirm that water will not be directed toward a basement stairwell, walkway, or neighboring property. Afterward, inspect for detached sections, bent outlets, and washed-out soil.
A short preparation routine can include these checks:
- Clear leaves and needles from channels and outlet openings.
- Confirm that downspouts and extensions are firmly connected.
- Look for soil erosion or pooling at each discharge point.
- Photograph storm damage before temporary repairs or cleanup.
These steps do not replace professional inspection after substantial damage, but they help identify urgent problems early. Storm-damaged gutters may need secure temporary control until a proper repair can be completed.
Choosing a Portland gutter installation company
The contractor matters as much as the product. A skilled installer can match capacity to roof runoff, protect the fascia, and make the downspout route work with the property. A weak installation can leave even expensive material leaking or sagging.
Gather at least a few written proposals when the project is substantial. Compare the scope and reasoning, not just the totals. Local familiarity is useful, but clear documentation and safe work practices matter wherever the contractor is based.
Verifying experience, licensing, and insurance
Ask how long the company has performed the type of work your home needs and whether it handles seamless fabrication, replacement, repairs, and drainage together. Verify required local licensing and request current proof of liability and workers’ compensation coverage. Do not rely on a logo or verbal assurance alone.
Experience should show up in the questions the estimator asks. Roof area, fascia condition, valleys, discharge points, and access should all be part of the conversation. A company that only measures the front edge may be overlooking the system’s harder parts.
Comparing written estimates and project warranties
Put proposals side by side and mark whether each includes removal, disposal, downspouts, extensions, fascia work, guards, and cleanup. Warranty language should identify what is covered, for how long, and what maintenance or installation conditions apply. A warranty is easier to use when the contractor’s name and contact details are on the document.
Do not treat a long warranty as a substitute for sound construction. Ask how service requests are handled and whether workmanship coverage differs from manufacturer coverage. The answer should be specific enough that you know whom to call if a seam leaks.
Evaluating reviews, communication, and scheduling
Reviews can reveal patterns in communication, cleanup, punctuality, and follow-through, though no review collection tells the whole story. Pay attention to whether the company answers practical questions and explains changes to the scope. Clear communication before installation often prevents confusion during the work.
Confirm the expected start window, weather policy, crew access needs, and cleanup plan. If the schedule changes, a responsible contractor should tell you rather than leave the property prepared indefinitely. For broader home-planning comparisons, homeowners may also encounter Rocking J Construction, a remodeling resource focused on project planning and home improvements.
Questions to ask before hiring a contractor
A few direct questions can expose gaps in a proposal. Ask who will perform the work, how the gutters will be sized, where each downspout will discharge, and how damaged fascia will be handled. Also ask whether the estimate includes removal and what happens if hidden damage is discovered.
Homeowners researching several projects may also see unrelated planning resources, such as DiscoverCars.com, a Portland travel guide, or a bathroom remodel guide. Those subjects are separate from gutter work, but the same habit applies: compare scope, budget, access, and scheduling before committing. For a gutter project, keep the final decision anchored to drainage performance and installation quality.
Conclusion
A successful Portland gutter installation combines the right material and profile with careful sizing, secure attachment, and a discharge plan that protects the foundation. Start by diagnosing the existing problem, then compare itemized estimates and maintenance needs before choosing a contractor. Thoughtful planning now can make the system quieter, cleaner, and more dependable through Portland’s long rainy season.
Frequently Asked Questions
How much does gutter installation cost in Portland?
Cost varies with material, linear footage, home height, roof access, downspout count, removal, and drainage work. An on-site measurement and itemized estimate are the best way to establish the project’s actual price.
What gutter material is best for a Portland home?
Aluminum is a common practical choice, while steel, copper, and vinyl suit different budgets, appearances, and site conditions. The best material is one that matches the roof, exposure, support structure, and maintenance expectations.
Are seamless gutters better than sectional gutters?
Seamless gutters have no mid-run joints, which can reduce potential leak locations. Sectional gutters can still work well for smaller projects or limited repairs when the joints and supports are installed correctly.
How often should Portland gutters be cleaned?
Spring and fall cleaning is a useful baseline, with more frequent attention for homes beneath heavy tree cover. Cleaning should include the channels, outlets, downspouts, and a visual check of the fascia and hangers.
Do gutter guards eliminate cleaning?
No. Guards can reduce the amount of debris entering the gutters, but they still need inspection and occasional maintenance. Their value depends on roof design, tree cover, product selection, and how safely the system can be serviced.
How far should downspouts extend from the house?
They should discharge far enough away to prevent water from collecting against the foundation, but the exact route depends on grade, soil, paving, landscaping, and local drainage conditions. Extensions or underground lines may be appropriate in difficult areas.
When should gutters be repaired instead of replaced?
Repair is often reasonable for isolated leaks, loose hangers, or a damaged connection when the surrounding system is straight and sound. Widespread rust, sagging, separation, or recurring overflow usually makes replacement worth considering.