Key Takeaways
Painting your gutters is a practical way to boost curb appeal and protect your home from the elements. This guide outlines how to evaluate, prepare, and paint your gutter system to ensure a professional and long-lasting finish.
- Gutters require specific paint types based on their material, such as vinyl or metal.
- Proper surface preparation is the most critical step for ensuring paint adhesion.
- Regular inspection helps you identify whether to repair, repaint, or replace worn gutters.
- Using high-quality primers prevents common issues like peeling and premature oxidation.
- Maintaining your freshly painted gutters extends their lifespan and keeps your home looking sharp.
Evaluating if your gutters need painting
Identifying peeling paint and oxidation
Signs of wear often start as minor aesthetic issues that, if ignored, can lead to more significant problems. Flaking paint and chalky surfaces, known as oxidation, indicate that the existing protective layer is breaking down. When these symptoms appear, the Water Damage Repair USA directory remains a useful resource for finding professionals if you discover that the metal underneath has begun to corrode.
Assessing the condition of the gutter material
Take a close look at the gutter runs to see if they are still securely attached to the fascia board. While surface discoloration is common, deep rust or severe warping suggests the material itself is failing. You must ensure the structure is sound before investing time in a new finish.
Differentiating between cosmetic repairs and structural damage
Cosmetic issues like faded color or surface dirt are easily addressed with cleaning and painting. In contrast, signs of structural failure, such as leaking joints or sagging sections, require immediate attention to protect your property’s foundation. If your gutters aren't moving rainfall away from the base of your house during storms, they are failing their primary job.
Knowing when to opt for gutter replacement instead
Sometimes painting is not enough to solve persistent water drainage issues or major decay. If large sections of the gutter are crumbling or if the mounting hardware is rusted through, replacement is the more prudent choice. You can search our portal to find qualified local installers who handle full gutter system upgrades and structural maintenance.
Selecting the right materials and supplies
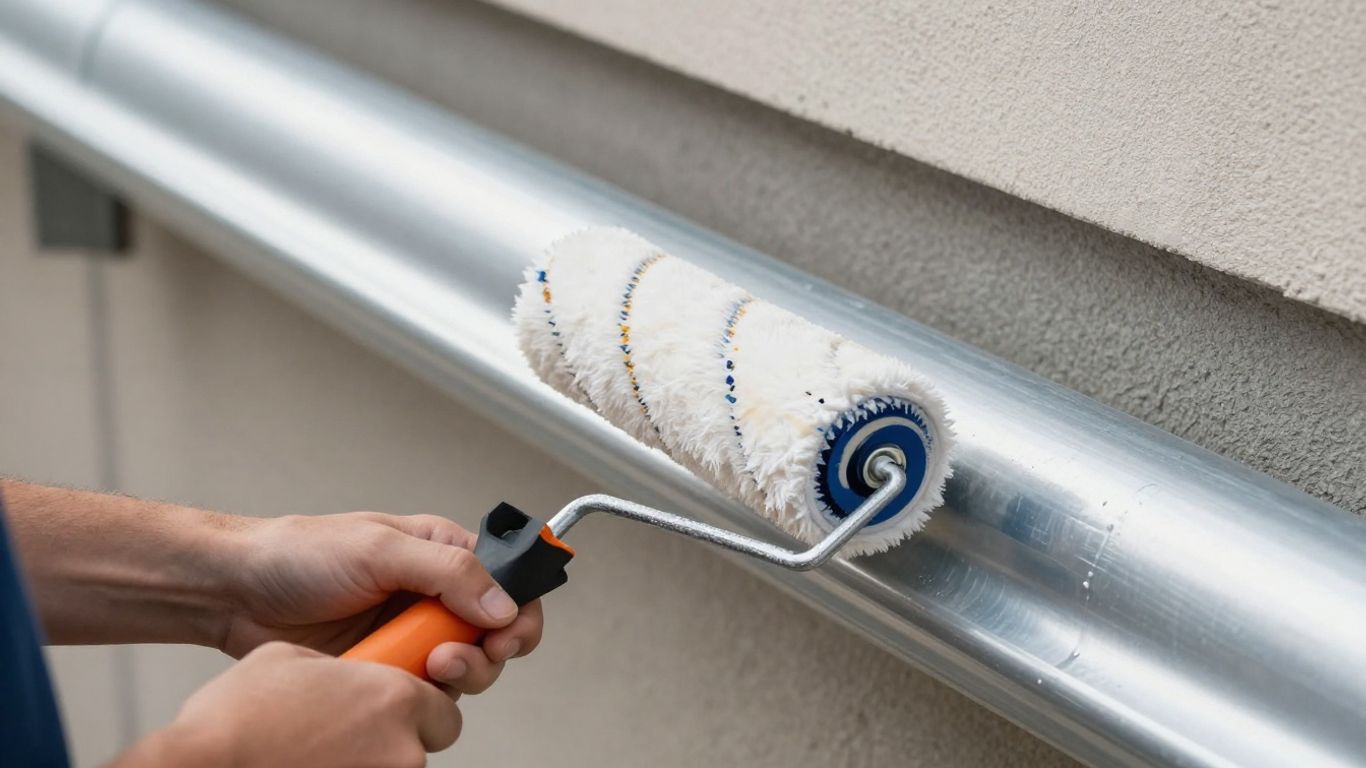
Choosing the best paint for metal or vinyl
Vinyl and metal require distinct chemical compositions for long-term durability. For aluminum gutters, choose high-gloss acrylic paint that handles heat expansion well. Vinyl requires flexible bonding agents that resist cracking during seasonal movement.
Matching primers for improved adhesion
Primer acts as the bridge between your clean substrate and your final topcoat, ensuring the paint doesn't peel under the sun. Rely on self-etching primers for bare metal, while high-tack primers work better for existing painted surfaces. Following this step correctly is non-negotiable for a professional result.
Essential tools for a professional-grade finish
Gathering the right supplies beforehand makes the physical work much more efficient. Below is a list of the baseline items needed to complete the job successfully:
- High-quality abrasive pads for scouring
- Exterior-grade masking tape
- Cleaning solution and a soft-bristled brush
- Long-handled paint roller for straight sections
- 2-inch angular brush for tight corners
Selecting weather-resistant topcoats
For the finish coat, prioritize paints explicitly rated for harsh exterior climates. Weather-resistant coatings provide a shield against UV rays and prevent excessive water absorption, which helps minimize the risk of mold growth or rust in the long run.
Preparing the surfaces for paint
Cleaning debris and biological growth
Before you apply any paint, the surface must be immaculately clean and dry. Removing years of grime and biological growth is essential for the paint to bond. A simple mix of soap and water works for most jobs, though deep mold spots require more specialized treatments.
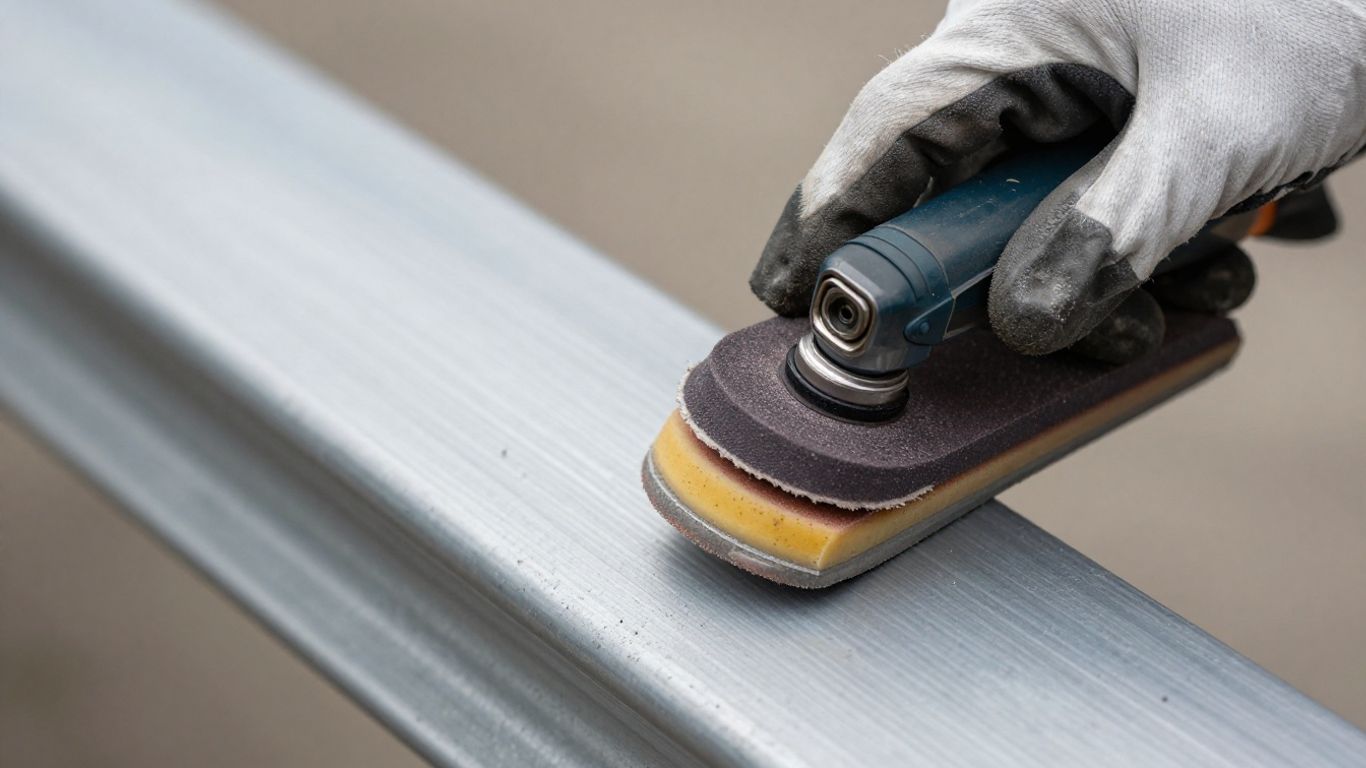
Using abrasive pads to promote paint adhesion
Mechanical preparation is often ignored by hobbyists, yet it is vital for longevity. You need to lightly scuff the entire surface to create a microscopic texture for the paint to grip. This process eliminates the glossy factory finish that would otherwise cause your new layer to peel away quickly.
Repairing small cracks or loose fasteners
Before finalizing the preparation, take time to solidify every connection point on the system. Use the following table to organize your assessment of these small repairs:
| Issue Type | Solution | Priority |
|---|---|---|
| Loose Screws | Tighten or replace | High |
| Hairline Cracks | Apply silicone sealant | Medium |
| Clogged Spouts | Clear and flush | High |
Addressing these small concerns beforehand ensures the integrity of the gutter run during the application phase.
Masking siding and roofs to prevent overspray
Preventing paint splatter on your siding is just as important as the painting itself. Use wide masking tape and drop cloths to protect adjacent surfaces. Taking time with this setup phase allows you to move faster during the actual application without the fear of damaging neighboring areas.
Best techniques for applying paint
Comparing brushes, rollers, and sprayers
Hand painting with a brush provides the most control, though a roller is faster for long, horizontal runs. For those with a steady hand, paint sprayers can create a smooth industrial look, but they require significant masking to avoid overspray on the exterior walls.
Applying consistent coats to prevent drips
Layering paint is a game of patience, not strength. Applying thin, even coats prevents the dreaded drip marks that occur when paint pools in the bottom of the gutter channel. Let each coat dry fully before deciding whether a second pass is truly necessary.
Detailing corners and complex downspout joints
Focus your efforts on the intersections of the downspouts, as these areas are prone to holding moisture and trapping leaves. Use an angular brush to ensure even coverage in these convoluted shapes, as rollers and sprayers often miss these spots completely.
Respecting drying windows between applications
Always follow the manufacturer's instruction on the back of the paint can regarding recoat times. If you apply the second coat before the first is sufficiently cured, you risk pulling up the original layer, resulting in patches that bubble and flake off within a single season.
Maintaining your painted gutters
Strategies for routine exterior cleaning
Regularly flushing your gutters keeps heavy debris from pulling on the new finish. A refresh of the exterior surface once a year with a soft wash helps remove acidic residues from rain that might degrade the paint over time.
Monitoring for signs of early paint failure
Look for pinholes or blistering during every quarterly walkthrough of your property. If patches are appearing, catch them early before deep oxidation can bloom across a larger segment of the gutter run.
Managing touch-ups for scratches and impact damage
Keep a small labeled container of your original paint for immediate repairs of small scratches. Minor damage from tree limbs or heavy wind can be sealed quickly to prevent moisture from reaching the underlying metal surface during the rainy months.
Seasonal inspections to protect the finish
Schedule your major inspections for late autumn when the leaves are gone and in early spring after the frost subsides. This allows you to verify that the finish remains intact after the harshest months, giving you peace of mind that your home exterior is ready for the year ahead.
Conclusion
Giving your home a fresh look is a rewarding endeavor that keeps your exterior maintenance under control. By following these steps to wash, prime, and coat your gutters, you save money over total replacement and restore that polished aesthetic to your roofline. As a final note, for issues that involve persistent water intrusion or potential structural decay, remember that you can always search for professional assistance through Water Damage Repair USA to connect with experts who understand long-term property preservation.
Frequently Asked Questions
Is it better to paint gutters or replace them?
If the metal is structurally sound and just faded, painting is much more cost-effective. Replace them only if you see significant rusting, sagging, or repeated leaking at the seams that patching cannot fix.
Should I use spray paint or brush paint?
Brushing and rolling are generally better for homeowners because they require less masking and allow for a thicker application of paint. Spraying is faster but requires expert-level masking to keep the surrounding siding safe.
How long does a painted gutter finish typically last?
With proper surface preparation and high-quality exterior paint, you can expect a professional-grade finish to last between five and seven years, depending on your local climate and sun exposure.
Can I paint my gutters if they are currently rusting?
No, painting over rust will not stop the corrosion; it will continue to grow beneath the paint. You must remove all visible rust with a wire brush or sandpaper and apply a quality rust-inhibiting primer before the final coat.
How long should I wait between cleaning and painting?
Your gutters must be perfectly dry before you apply any chemicals or paint. Plan to clean them at least 24 hours in advance, ensuring there is no trapped moisture behind brackets or in joints that might cause the new paint to bubble.
Do I need to remove the gutters to paint them?
Removing gutters is typically unnecessary and increases the risk of damaging the gutter hangers or the eaves of your house. It is far easier and safer to clean, prep, and paint them while they remain securely in place.
What happens if I don't use a primer?
Skipping primer often leads to poor paint adhesion, meaning it will likely peel or flake off within a few months of exposure to rain and UV rays. Primer is the essential bonding agent required for a long-lasting exterior finish.