Key Takeaways
Properly managing roof runoff through minor adjustments can significantly extend the lifespan of your property's exterior and foundation. These steps are essential for maintaining a high-functioning drainage system.
- Roof valleys funnel intense water volume that easily overwhelms standard gutter systems.
- Splash guards redirect concentrated flow, preventing water from overshooting the gutter lip.
- Selecting durable materials like aluminum or copper ensures longevity in your specific climate.
- Proper surface preparation and watertight sealing are critical for preventing back-leaks behind the shield.
- Routine checks after major storm events identify potential blockages before they cause structural damage.
Understanding roof valleys and drainage issues
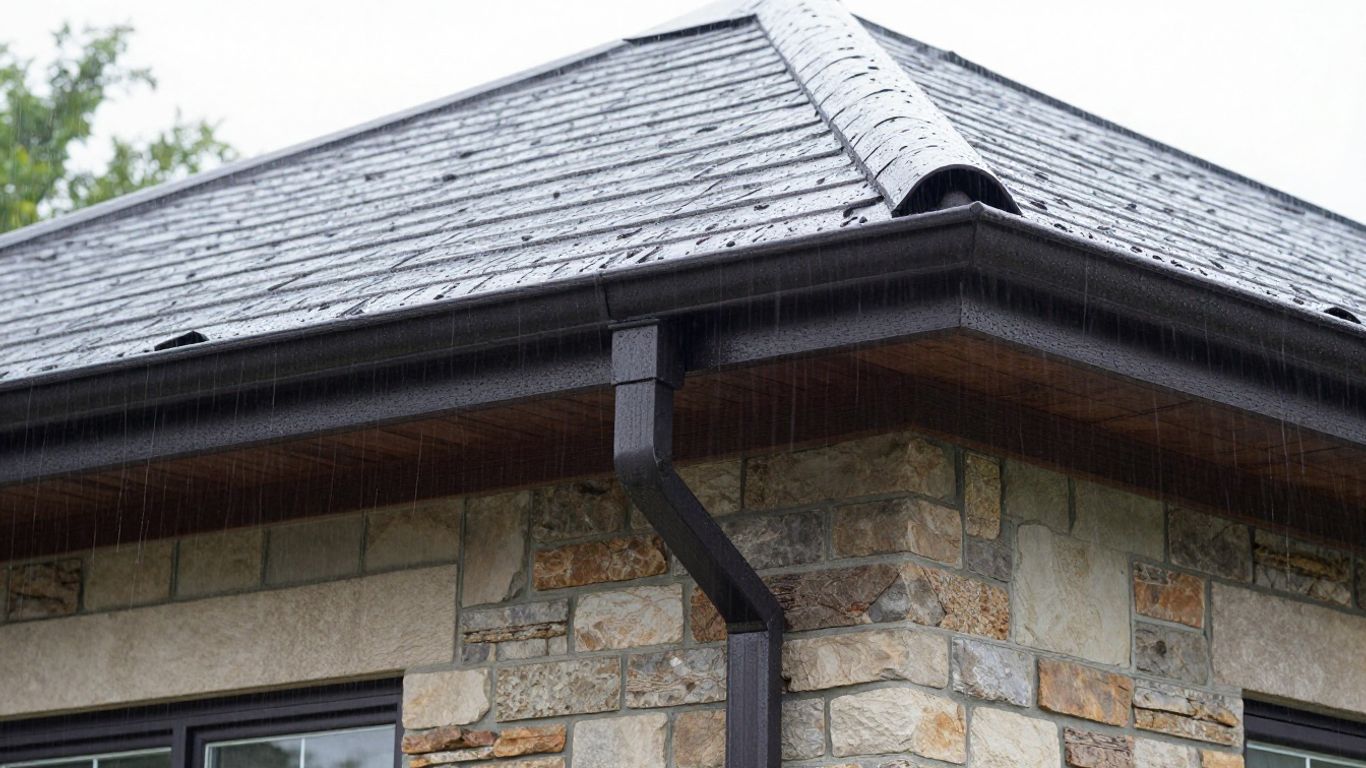
Roof valleys represent the most vulnerable points in any drainage system because they consolidate water from two separate roof planes into a single stream. When heavy rain hits, these areas experience flow rates far higher than the rest of the roof, often overwhelming the capacity of standard gutter channels. Addressing this flow with a properly installed splash guard can be the difference between a dry home and significant water damage.
How roof valleys concentrate water flow
Rainwater naturally seeks the path of least resistance, accelerating as it tracks down the pitch of the roof into the internal corner where two slopes converge. This intersection creates a powerful, high-velocity stream that carries debris and sediment directly into the gutter, where it often strikes with enough force to cause significant rebounding.
Identifying signs of valley overflow and gutter jumping
Homeowners should observe their roofline during a storm to spot "gutter jumping," where water enters the center of the gutter and immediately splashes over the outer edge. If you notice localized erosion in garden beds below these specific points, or stains on your siding, the accumulation is likely exceeding the gutter's mechanical capacity.
Importance of redirecting water to protect the fascia
Fascia boards are frequently exposed to moisture when water perpetually spills over the front edge of the gutter. Redirecting this force back into the channel helps maintain the integrity of the trim, which is exactly why our team at OnScene Gutters focuses on precise drainage solutions. Protecting this interface is as crucial as asset protection planning for your financial wealth.
Assessing the risk of foundation seepage from unchecked runoff
When water consistently lands at the same point near your home, it saturates the soil and exerts hydrostatic pressure against the foundation walls. Effectively, your gutter system acts like jogos de defesa de torres, defending your home perimeter against intrusion by controlling where that water descends.
Selecting the right splash guard for your home
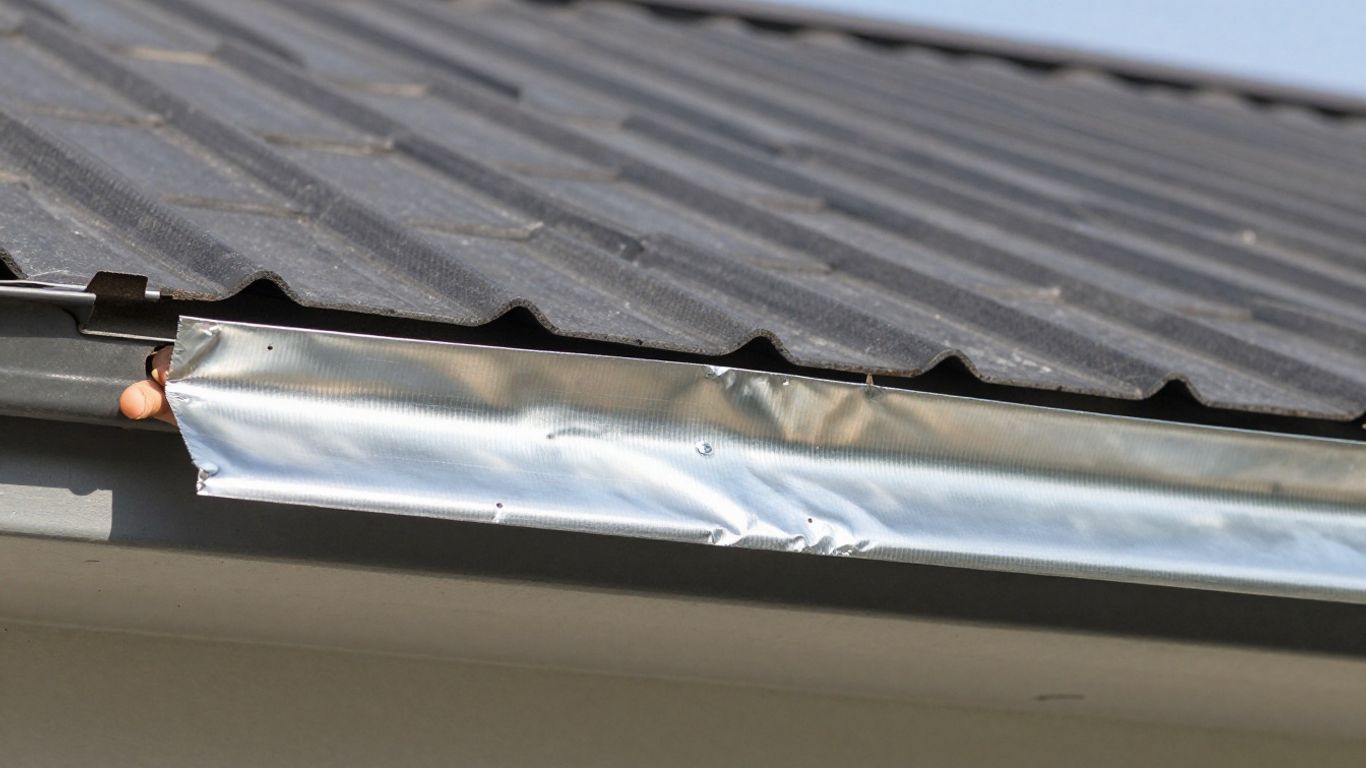
Choosing the right hardware depends significantly on the profile and material of your existing gutter system. Because of the variation in regional climates, selecting materials that resist corrosion is essential for long-term reliability. Our team at OnScene Gutters often recommends matching the guard material to your gutter's existing metal to maintain structural harmony.
Comparing material durability: aluminum, copper, and steel
| Material | Best Use Case | Expected Longevity |
|---|---|---|
| Aluminum | Versatile, rust-proof | High |
| Copper | Aesthetic, premium builds | Very High |
| Steel | High-impact areas | Medium |
Selecting the right material ensures that your system functions reliably, much like how choosing high-quality components protects thermoplastic road marking application from premature degradation in hot weather.
Matching the guard style to your existing gutter profile
Your chosen guard must align with the specific ogee or straight edge of your K-style or box gutter profile. A mismatch here results in gaps where water will continue to escape, undermining the purpose of the shield in the first place.
Weighing the pros and cons of custom-fabricated versus universal guards
Universal guards are cost-effective and easy to source, while custom-fabricated guards offer a superior fit for complex or non-standard roof pitches. Many homeowners prefer universal guards because they are readily available, though professional installers often lean toward custom options to guarantee a seamless deflection path.
Estimating the dimensions needed for effective water deflection
Measuring the width of the valley and the depth of the gutter channel ensures the splash guard provides full coverage. You want the guard long enough to break the speed of the water without creating a dam that traps organic material, similar to how Overwatch 2 heróis require precise positioning to control a capture point.
Preparing the site for installation
Before mounting hardware, the area should be entirely free of grit, pine needles, and biological growth. A clean surface allows for stronger adhesion of sealants, which remain effective much like long-lasting waterproof makeup retains its finish in humid weather conditions.
Cleaning the roof valley and gutter section thoroughly
- Clear all debris from the roof valley using a brush.
- Remove sludge and packed sediment from the gutter channel.
- Flush the downspout to ensure the main discharge is clear.
- Wipe the mounting surface with a solvent to remove oils.
Inspecting the fascia and hardware for existing structural damage
Check for soft spots in the wood beneath the gutter to ensure fasteners will hold securely. If the board is compromised, no amount of guarding will prevent further deterioration; the underlying structure must be addressed first.
Gathering necessary tools and safety equipment
Essential gear includes a sturdy extension ladder, cordless drill, galvanized hex screws, butyl sealant, and snips for custom trimming. Safety remains the highest priority, so utilize a stabilizer for your ladder to prevent damage to the gutter edge while you work.
Verifying the proper pitch of the gutter run before installation
Ensure your gutter maintains a slight downward slope toward the downspout before installing the guard. If the run is level or back-pitched, the splash guard might divert water toward the house rather than away from it.
Step-by-step installation procedure
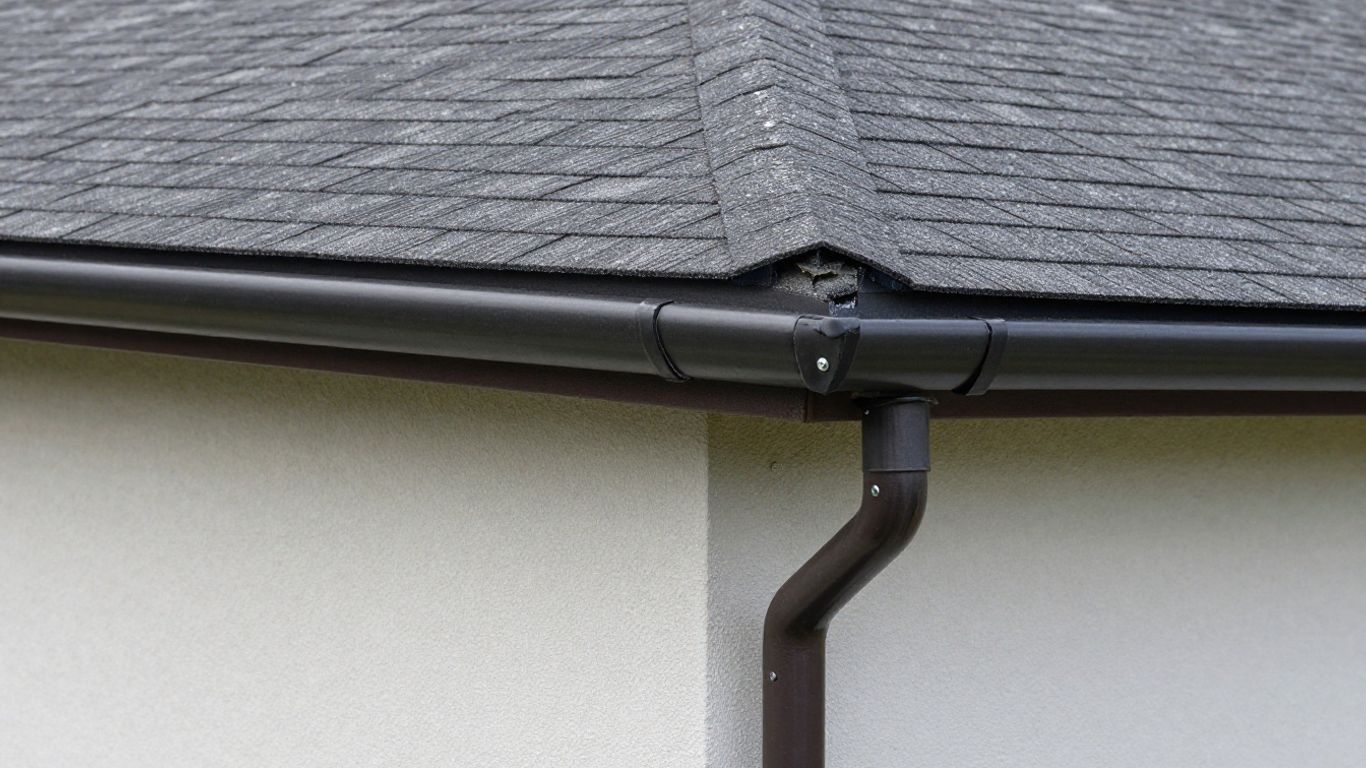
Installation requires a steady hand and a clear eye for how water will trace its path. Always test the fitment before applying any permanent adhesives, as it is much easier to trim a piece of metal down than to build it back up.
Measuring and cutting the splash guard for a flush fit
Use your snips to cut the base of the guard so the metal profile sits flush against the roof valley shingles. Achieving a precise angle ensures that water does not find a path underneath the edge of the shield, but instead rolls naturally over the deflected surface.
Positioning the guard at the intersection of the valley and gutter
Place the guard at the specific point where the valley terminates, ensuring the shield overlaps the inner gutter wall. Proper placement should catch the bulk of the water stream while leaving enough clearance below for small items like shingle grit to pass through to the downspout.
Fastening the shield securely to the gutter lip
Use color-matched galvanized exterior screws to fasten the guard to the outer gutter lip. Staggering the fasteners helps distribute tension along the guard, preventing it from oil-canning or warping over time when exposed to heavy rain or wind.
Testing the deflection with a water hose to confirm flow direction
Run a test stream from the valley upward, letting it roll down to mimic a rainfall event. You should observe the water hitting the splash guard and being pushed directly into the gutter channel rather than overshooting it.
Sealing and waterproofing techniques
Selecting the appropriate exterior-grade sealant for gutter materials
Applying a watertight bead to prevent leaks behind the guard
Preventing galvanic corrosion between dissimilar metals
Monitoring seal integrity through seasonal temperature changes
Troubleshooting common installation challenges
Adjusting for high-velocity water flow on steep roof pitches
Resolving clearance issues with existing gutter covers
Preventing debris accumulation behind the splash guard
Knowing when to rely on a professional from the team at OnScene Gutters
Long-term maintenance and performance
Establishing a seasonal inspection schedule for splash guards
Checking for loose fasteners after heavy wind or storm events
Monitoring performance during the spring thaw
Integrating guards into your routine gutter cleaning plan
Conclusion
Installing gutter valley splash guards is a high-impact, low-cost maintenance strategy that protects your home's most vulnerable areas from the wear of heavy rainfall. By choosing the right materials, ensuring a tight seal, and keeping the path clear of debris, you safeguard your fascia, foundation, and landscaping from long-term neglect. When dealing with complex roof lines or persistent overflows that exceed DIY solutions, reaching out for professional assistance ensures that your drainage system performs reliably throughout the entire year.
Frequently Asked Questions
Can I install splash guards on any type of gutter?
Most splash guards are designed for standard open-top gutter systems like the K-style profile, but their effectiveness depends on the specific geometry of your roof valley.
Will splash guards cause my gutters to clog faster?
If installed correctly, they do not impede the natural flow, but it is important to ensure they are not creating a "dam" effect where debris might settle behind the splash plate.
Do I need to use professional tools for installation?
Basic household tools such as tin snips, a cordless drill, and exterior-grade screws are usually sufficient, though a ladder stabilizer is highly encouraged for safety.
How long do splash guards typically last?
Because they are made from materials like aluminum or copper, they often last as long as the gutter system itself, provided the fasteners and sealants remain intact.
Do splash guards eliminate the need for regular cleaning?
No, splash guards are a diversionary tool and not a debris-filtering system, so you still need to perform your standard gutter maintenance twice a year.
What if water still splashes over after installation?
If overflow persists, it may indicate that your gutter pitch is incorrect, the downspouts are undersized, or the roof valley's water volume is too extreme for a standard 5-inch gutter.
Can these be installed on covered gutters?
Yes, but you may need to adjust the guard placement or use specific modifications to ensure compatibility with existing gutter guards or screens without creating new openings for debris.